Traverse Global v11.2
Positions
The Positions function and reports allow you to set up positions within your company. Positions are established within departments and work locations and are assigned to individuals who inherit certain payroll and organizational data from the assignment, such as department, work location, manager, worker compensation code, job title, and job category. If a supervisor leaves and a new employee assigned to that position, there is no need to go and update all of the people under that supervisor, as it will be updated through the positions screen.
Reports can be printed to see which positions are filled or unfilled, or which are active or inactive. The reports can be sorted by position number, description, supervisor, hours budgeted, salary budgeted, position type, department ID, individual ID or name.
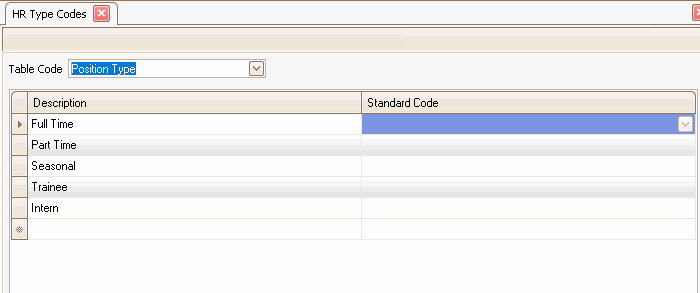
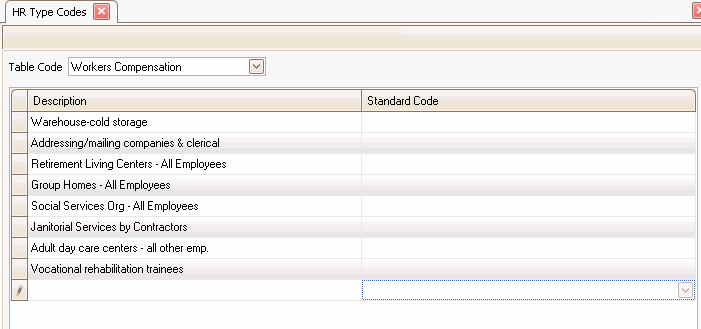
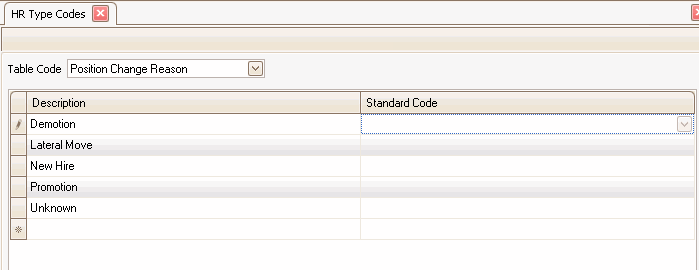
The first step is to set up the codes used in the positions screen in Type Codes. For more information, see Type Codes maintenance.
Position Change Reason is used in the Individuals maintenance screen, but should be set up at the same time as the Position codes.
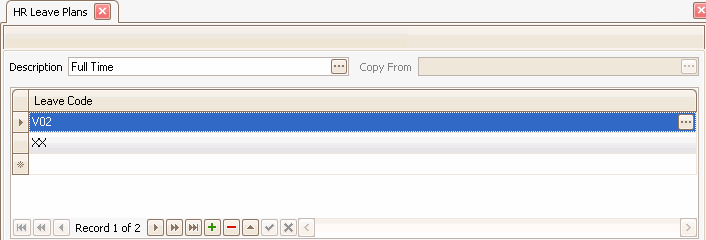
Set up the Leave Plans by going to Leave Plans maintenance under Setup and Maintenance. Click the New button on the toolbar to enter a new Leave Plan Code, or use the drop-down list to edit a current leave plan.
The next step is to set up the positions. Go to the Positions maintenance screen from Setup and Maintenance.
- Click the New button on the toolbar to enter a new position Description, or select a Description from the drop-down list. If you are creating a new position, you can use the Copy From field to copy values from an existing position.
- If you select to work with a current position, you can use the Staffing button on the toolbar to open the Positions Assignment interactive view for the position. This view will list the current staff (individuals) assigned to that position. There can be more than one individual assigned to each position.
- When you make changes to the current position, use the Apply button to push the updates to all personnel who hold that position.
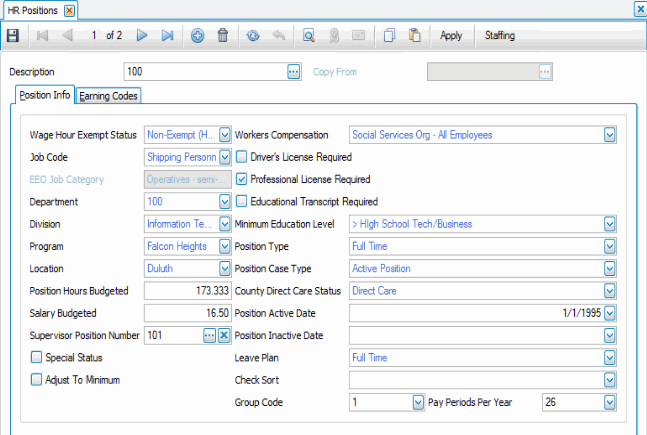
On the Position Info tab:
- Select the Wage Hour Exempt Status of the position from the drop-down list.
- Select a Job Code from the drop-down list.
The EEO Job Category field is read-only, and fills automatically when you select the job code.
- Select a Department, as applicable.
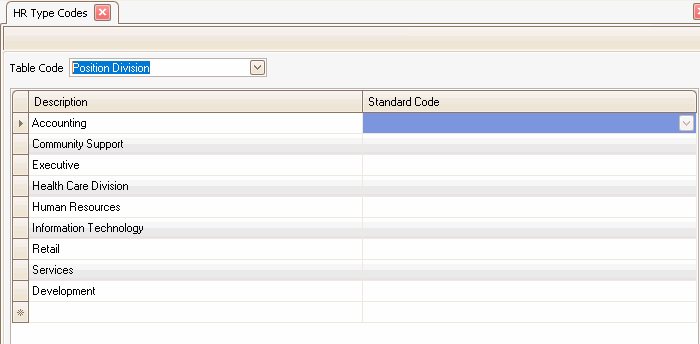
- Select a Division as applicable.
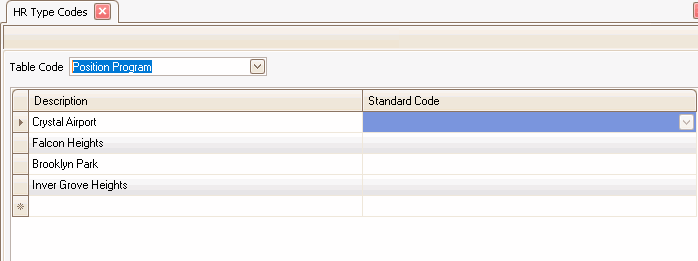
- Select a Program as applicable.
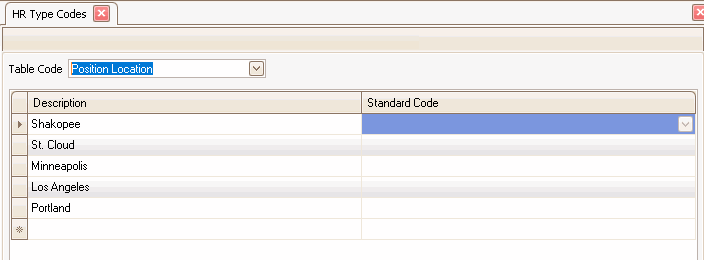
- Select a Location as applicable.
- Enter the number of Position Hours Budgeted for this position.
- Enter the Salary Budgeted for this position. For hourly positions, enter the expected hours budgeted * hourly rate. (Amount entered should be on a monthly or annual basis.)
- Select a Supervisor Position Number as applicable.
- To exclude certain groups, such as disabled clients, from EEO reports, mark the Special Status check box.
- Mark the Adjust to Minimum check box if you want the system to automatically adjust earnings to minimum wage if regular earnings plus reported tips do not amount to minimum wage.
- Select a Workers Compensation code from the drop-down list, if applicable.
- Mark the appropriate check box if the position requires a Driver's License, Professional License, and/or Educational Transcript.
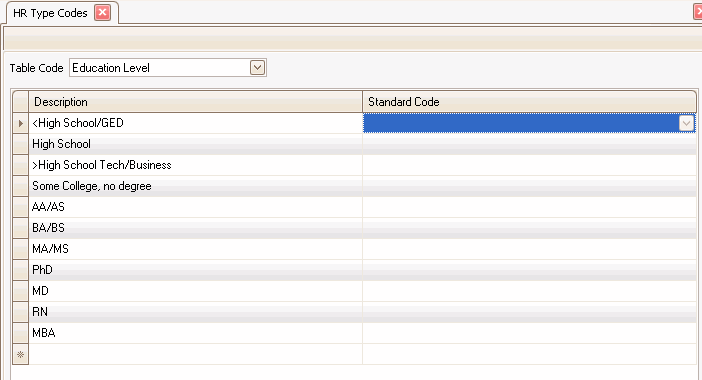
- Select a Minimum Educational Level, as required.
- Select a Position Type.
- Select a Position Case Type, as necessary.
- Select a County Direct Care Status, as necessary.
- Enter the Position Active Date.
- Enter the Position Inactive Date, as necessary.
- Select a Leave Plan.
- Select a Check Sort option, as necessary.
- Select a Group Code.
- Enter the number of Pay Periods Per Year.
On the Earning Codes tab

Enter or update the following fields:
- Select an earning code from the Earn Code drop-down list.
- Select a Rate Type.
- Enter the earning Rate. If you are entering a salary amount, it should be the amount for a pay period.
- Mark the Default check box if this is the default earning rate. A default earning rate is required in order to transfer a person to Payroll.
Press the Add Record button ( ) at the bottom of the screen to add additional earning codes.

